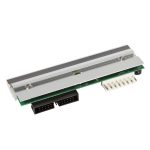
The print head creates an image by heating thousands of tiny thermal dots that burn the ribbon or thermal label. During this process, paper dust, ribbon residue, and adhesive particles form a layer on the print head surface. Over time, this layer hardens, blocks heat transfer, and eventually causes the head to burn out.
How to Clean a Print Head (Step by Step)
The golden rule is to perform cleaning not only when print quality deteriorates, but at every ribbon change (or after every roll if you are using direct thermal labels).
- Turn Off the Device and Let It Cool Down:
The print head becomes extremely hot during operation. Applying alcohol to a hot head may damage it and cause the cleaning cloth to stick. - Choose the Right Materials:
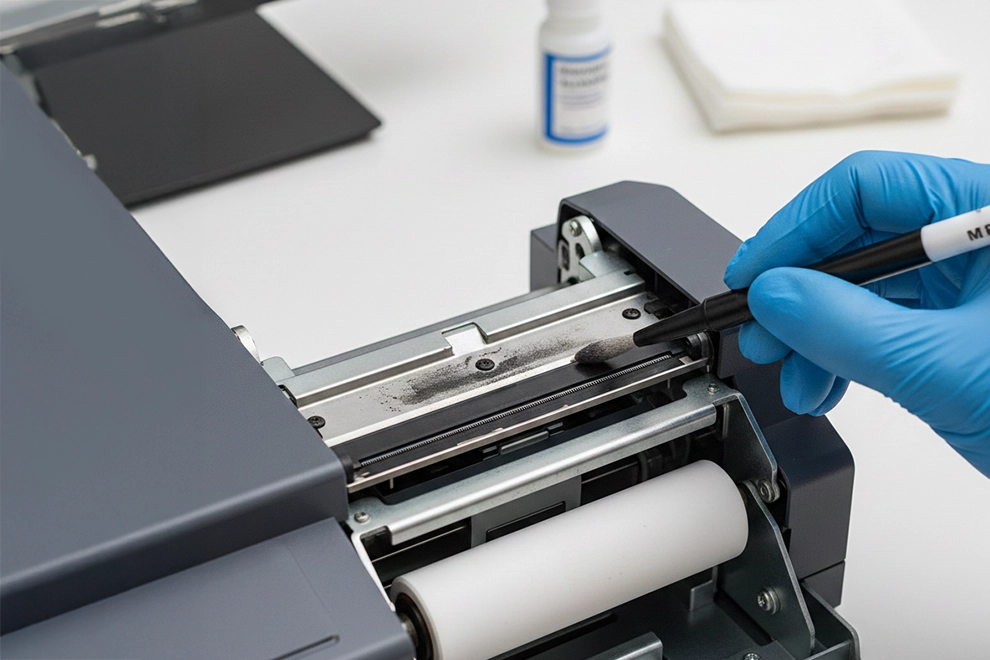
Never use hard objects, knives, screwdrivers, or liquids containing additives such as cologne. The only things you need are pure alcohol (99% Isopropyl Alcohol) and a lint-free cloth or special cleaning pens designed for print heads. - Wipe Gently:
Apply alcohol to the cloth and wipe along the black, glossy thermal strip of the print head in a single direction without applying excessive pressure. Repeat the process until no more residue appears on the cloth. - Allow It to Dry:
Although alcohol evaporates quickly, wait at least one minute before closing the printer to ensure the head is completely dry.
Strategies to Double the Lifespan of Your Print Head
Cleaning is only half the job; the other half is changing usage habits. Here are the key strategies to maximize the lifespan of your print head:
1. Lower the Print Darkness Setting
The most common mistake is increasing the “darkness” setting to the maximum for clearer prints. This causes the pixels in the head to overheat continuously and burn out faster. By using high-quality labels and the correct ribbon, aim to achieve clear prints at the lowest possible darkness setting. The lower the heat, the longer the head will last.
2. Optimize Print Head Pressure
If the printer’s pressure latches are too tight, the head rubs more intensely against the label surface and wears out mechanically. The loosest setting that still produces clear prints is the hidden hero for extending head life.
3. Use High-Quality Consumables
Cheap, low-quality, or rough-surfaced labels create a “sandpaper effect” on the print head. Especially with thermal labels, having a smooth and dust-free surface is critical. Trying to cut costs with low-grade labels may destroy a print head within just a few months.
4. Protect the Printer from Dust
Dust in warehouse or production environments can enter directly between the head and the platen roller when the printer cover is opened. Always keep the printer closed and regularly clean the interior with compressed air. Remember: dust is the biggest physical enemy of a print head.
2026 Technical Service Note: When Should It Be Replaced?
If vertical white lines start appearing on your prints (meaning one or more pixels have failed), cleaning will not solve the issue. This condition is known as “print head failure,” and the only solution is replacing the part.
However, a business that follows the steps above can achieve two to three times more prints with the same print head compared to competitors.
In short, a print head is not merely an expense item; it is an investment whose lifespan can be significantly extended with regular maintenance. Spending just one minute cleaning at every ribbon change can save you thousands in replacement costs.